Recent data from retail platforms showed a 500% month-on-month spike in sales of pool loungers and water leisure products during this year’s frequent heatwaves. Sales of pools, fans, and garden furniture have also spiked to an all-time high.
Perhaps you joined in the pool party trend this summer but are now wondering how to deal with all that water, and even worse – what lies underneath… The good news is you can still repair and preserve your perfect lawn. Here’s how.
The Problem with Pools (if you’re a lawn)
With frequent heatwaves this year, pools are being left out for longer and water is being chlorinated – a sensible response to hosepipe bans and the inability to frequently change the water.
This gives rise to two key issues where your lawn is concerned:
- Disposing of chlorinated water at the end of summer use
- Dealing with pale and often dead grass beneath your pool
Distributing Non-chlorinated Water
If you never chlorinated your pool water, you can distribute that onto your lawn once your swimming days are done. Your lawn will thank you for the influx of hydration!
However, rather than tip it in one direction (which can erode valuable topsoil and leave much of your lawn dry), here’s how to do that to distribute it evenly across your lawn:
- Submerge a garden hose inside the paddling pool until it fills completely with water and no air bubbles remain.
- Keep one end deep in the pool (anchor it with a smooth stone or weight). Cap the other end tightly with your thumb or a hose nozzle to trap the water inside.
- Drag the capped end out to the lowest or furthest part of your lawn. The discharge end must be lower than the surface level of the pool water for gravity to work.
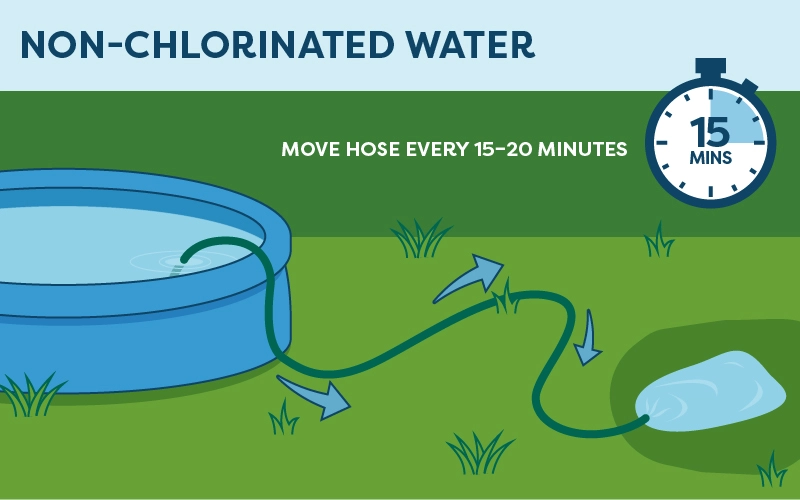
- Uncap the end. Water will begin flowing continuously. You can now slowly move the hose around different areas of the lawn every 15–20 minutes to distribute the water evenly.
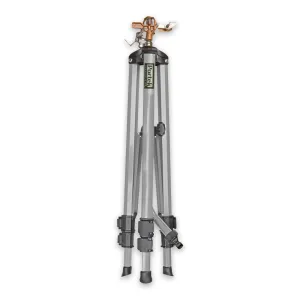
If you want an automated, hands-off approach that covers wide sections, place a small utility or pool-drain pump in the pool, attach your garden hose to it, and hook the hose up to a standard lawn sprinkler. This gives you high pressure to reach every corner of the lawn.
Dealing with Chlorinated Water
Don’t tip or distribute chlorinated water onto your lawn. Chlorinated, salted, or brominated pool water is designed to sanitise, but dumping hundreds of gallons directly onto grass strips essential microbes from the soil and causes chemical scorching.
Do this instead:
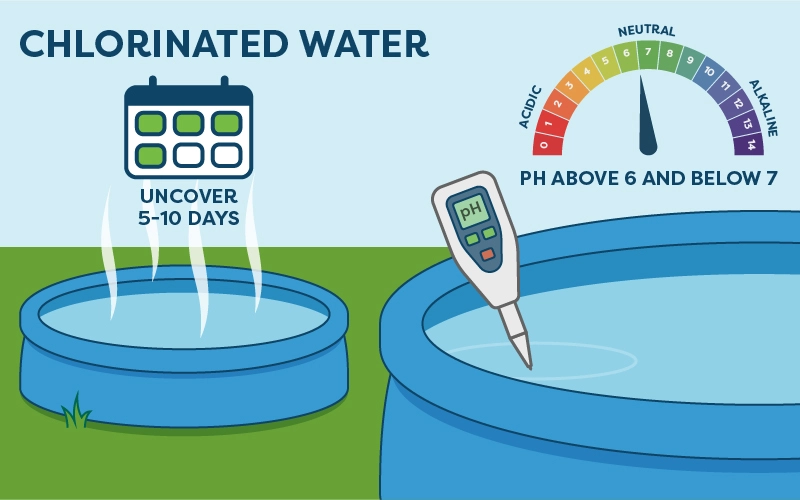
- Leave the cover off the pool for 5 - 10 days to allow chlorine levels to drop to less than 0.1ppm.
- Make sure that the pH is not too acidic/alkaline. Aim for above 6 and below 7.
- You can now follow the steps detailed earlier to equally distribute water to your lawn.
Managing Oxygen-Starved Grass
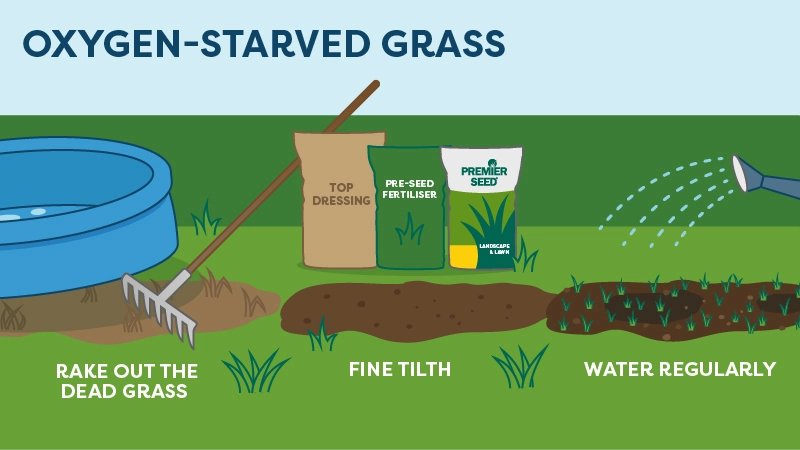
Water trapped under heavy pools and pool liners gets heated by the sun, effectively ‘steaming’ or cooking the lawn underneath.
This heat combined with zero light and heavy weight means pools starve grass roots of oxygen - leaving dead, sour-smelling brown patches within just 48 - 72 hours.
To fix oxygen-starved grass, you will need to approach this as though you are seeding a brand-new lawn. Do the following:
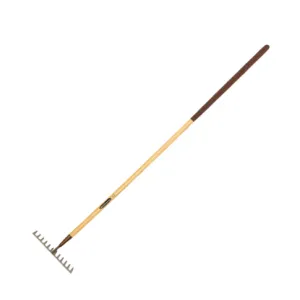
- Rake out the dead, brown or pale grass to expose the soil underneath.
- Lightly rake this newly exposed soil to break up the soil and create a fine tilth.
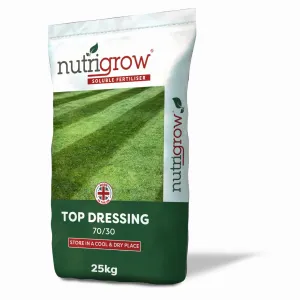
- Apply some top dressing to help improve your lawn’s resilience, level any dips, and improve drainage.
- Next, apply a pre-seed fertiliser. This will deliver the right nutrients to support healthy seed germination and growth with a six-week slow-release formulation.
- Select your seed and sow evenly at the rate shown on the product label. For most lawn types, our exclusive Premier Landscape and Lawn Grass Seed is ideal.
- Lightly rake the area again to cover the seed with a fine layer of soil.
- If the dry weather persists, begin a watering regime. You are aiming to keep the soil consistently damp. This is perhaps the most critical factor for successful germination. Use a fine spray to water the area regularly, especially during dry spells. Don’t let the top 1cm of soil dry out until your seedlings are well established (around 3-4 weeks).