Step 1: Analyse Your Soil

Before you do anything, it pays to get to grips with what’s below the surface. A detailed soil analysis will tell you which nutrients are available in your soil and give you a tailored fertiliser recommendation – to make sure your future plants get the right nutrition for their needs.
The analysis will also indicate your soil’s pH levels, which dictate how well plants can absorb food.
It’s often surprising to discover the nutritional value of your soil as so much depends on your specific location’s topography, climate and so on. But the results will give you the power to make accurate nutrition decisions that will give your plants the best possible start.
Step 2: Clear and Weed
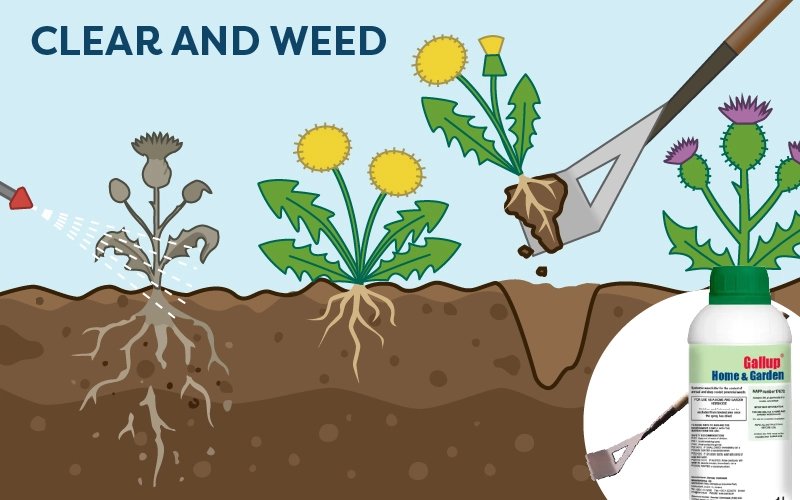
While you’re waiting for your soil test results, take a critical look at your target planting area. New plants shouldn't have to compete for water and nutrients, so clear the area of debris and deep-rooted weeds before they establish themselves and steal valuable resources from your new plants.
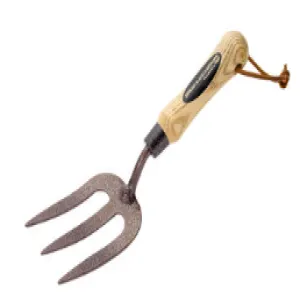
Use a hoe or a small fork in the first instance (depending on the scale of weed growth), where you are confident you will remove the entire root system as well as the above-ground growth.
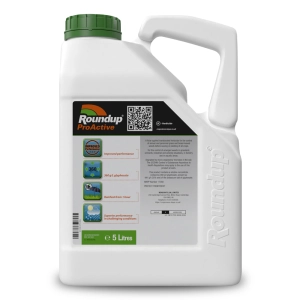
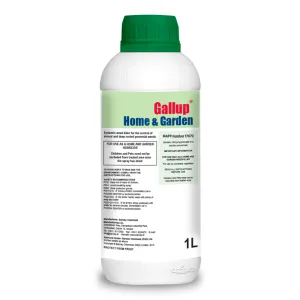
For total weed control in a pre-planting area, Roundup Pro Active 360 is a professional-standard systemic weed killer that kills down to the root. Alternatively use Gallup Home and Garden which can be used without professional training.
Always consult the product label for the recommended wait time after application, before planting, though this is normally around seven days.
For more information on weed types and regrowth behaviour, take a look at our guide to preventing weed regrowth.
Step 3: Improve Soil Structure
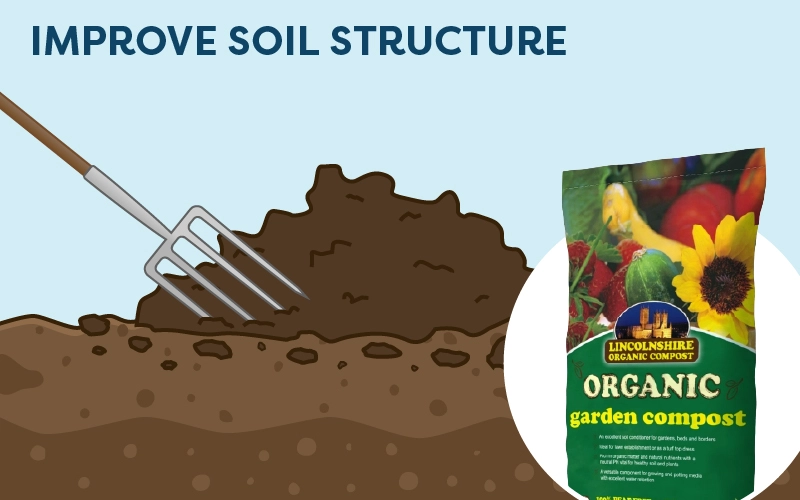
Whether you have heavy clay (which suffocates roots) or sandy soil (which drains too fast), adding organic matter is essential.
The goal is to create a soil that is loose enough for roots to spread but dense enough to hold moisture – and one that will crumble gently under pressure.
To determine your soil type, simply grab a handful of moist soil and squeeze it. If it crumbles very easily, it’s likely sandy. If it holds its shape and is sticky, it’s clay. Loamy soil should feel smooth and crumbly, while peaty soil will be darker and wetter than other types.
Organic matter, such as compost, well-rotted manure, leaf mould, and green manure, enhance soil aeration, water retention, and nutrient availability – whatever your soil type. But for heavy clay soils, you may need to work a little harder to improve drainage. Consult our guide on amending clay soils here.
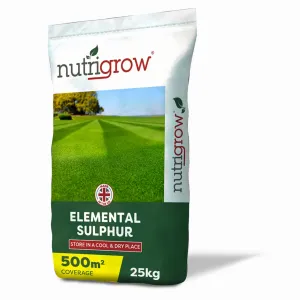
Step 4: Balance the pH
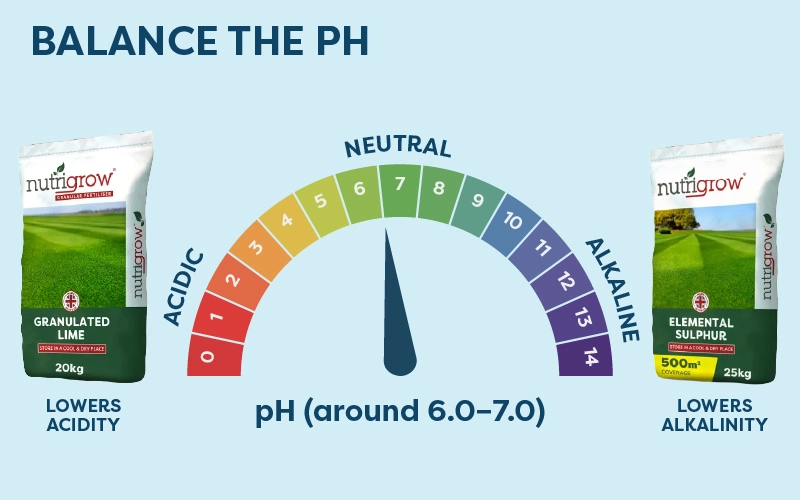
Most plants prefer a slightly acidic to neutral pH (around 6.0–7.0). If your soil analysis shows it’s too acidic or too alkaline, you’ll need to amend it.
Soil that is too acidic requires lime and soil that is too alkaline requires elemental sulphur. Apply at the rates shown in the instructions for an instant amendment.
For very large areas, take a look at our guide to paddock soil pH which provides more detail on the issues around amending larger areas and how to approach amending very alkaline soil.
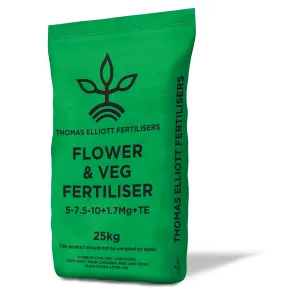
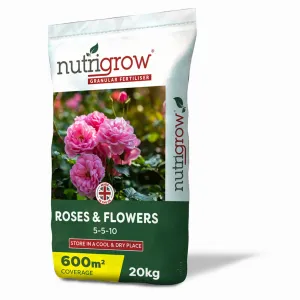
Step 5: Base Fertilisation
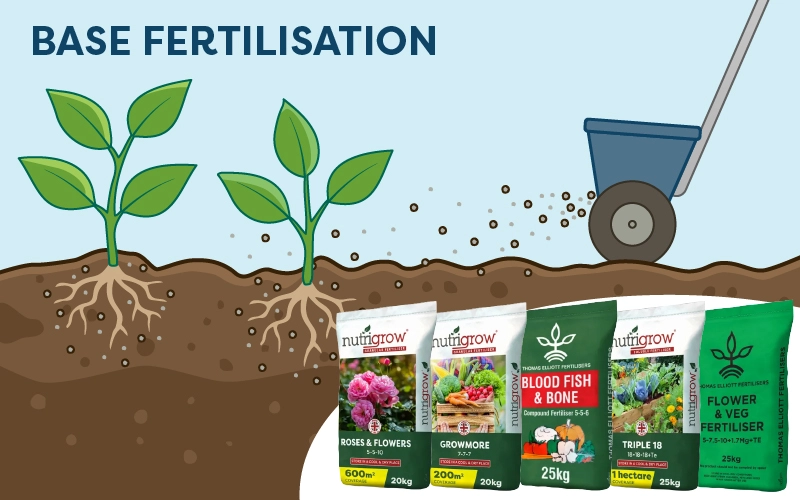
Now that you’ve cleared the planting area and balanced the pH, your final crucial step is to incorporate a base feed to give your new plants an immediate boost.
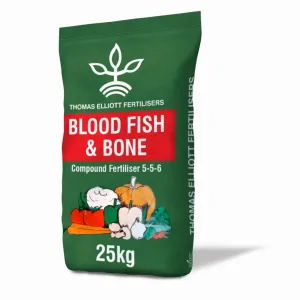
A slow-release source of nutrients that lasts through the establishment phase is ideal. Use Blood, Fish & Bone – a general purpose plant feed where the nutrients are locked in organic matter. Soil microbes have to process this matter to release the nutrients over time.
New plants need phosphorous to establish strong root systems and the bone meal in this mix is specifically geared towards this.
Because it releases nutrients slowly, it is much less likely to burn the tender young shoots of new plants, and since it is organic, it contributes slightly to the soil structure over time – encouraging more microbes to continually improve the quality of the soil.
Depending on the results of your soil analysis, you may need to add a more specific nutritional mix at this stage. Get in touch with our technical team for free tailored advice.
Once planted, your job is to maintain vigour and protect against stress (like drought or disease), so keep your plants fed throughout the growing season with Emerald Pro Seaweed - a biostimulant that improves stress resistance and plant health.
This guide was written in collaboration with Ollie Wright.
Ollie Wright MBPR, FQA
Ollie Wright serves as the Technical Manager at Agrigem, where he oversees the integrity and accuracy of the company’s technical output. A recognised figure within the UK turf-growing sector, Ollie leads Agrigem’s technical response, ensuring that all guidance provided to retail and trade clients remains rigorous, compliant, and at the forefront of industry standards.
With a career built on a foundation of practical experience in farming and landscaping - including the successful management of his own firm - Ollie bridges the gap between theoretical science and field application. His extensive hands-on background is reinforced by industry credentials, including RHS Horticulture, amenity turf and hard surface BASIS, and FACTS qualifications. This unique combination of expertise allows him to deliver high-level strategic advice across diverse sectors regarding plant protection products and complex legislative requirements.
Article Notes:
- Roundup Pro Active 360 is a trademark of Monsanto Technology LLC. It contains 360g/L glyphosate.
- Gallup Home and Garden is a trademark of Barclay Chemicals Manufacturing Ltd. It contains 360g/L glyphosate.
- Emerald and Nutrigrow are trademarks of Agrigem Ltd.
- Use plant protection products safely. Always read the label and product information before use. For label and safety information, refer to the manufacturer’s website.
- Only certified users may apply professional plant protection products. Find out more about safe use of pesticides here.